Android Lollipop 5.0 and Android Marshmallow 6.0 Mail Setup
With the release of Android Lollipop, the default Android Email app now redirects you to the Android Gmail app. The Gmail Mail app comes preinstalled on Android smart phones running Lollipop and this tutorial works on Android Lollipop 5.0.
CalTel recommends but does not support this software. Please contact the software developer if you experience problems.
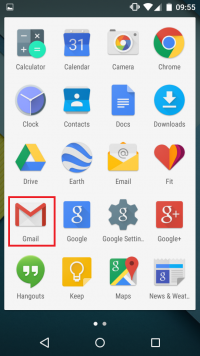
- Open your Android applications and select the 'Gmail' app:
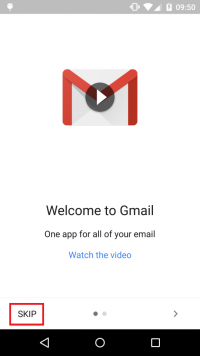
- After you open the Gmail app, select 'SKIP':
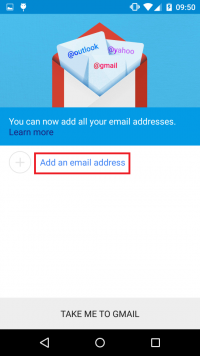
- Select 'Add an email address':
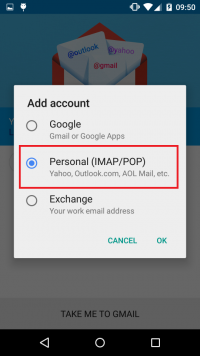
- Select 'Personal (IMAP/POP)':
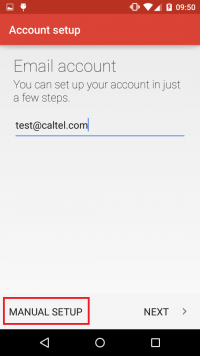
- Enter your full CalTel email address and select 'MANUAL SETUP':
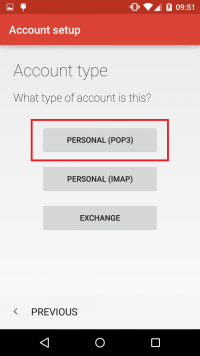
- Under 'Account type' select 'PERSONAL (POP3)':
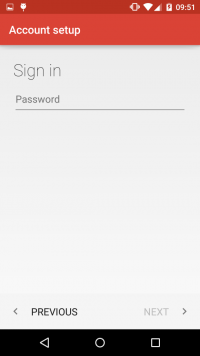
- You will be presented with a 'Sign in':
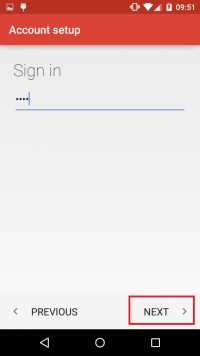
- Enter you CalTel email password and select 'NEXT':
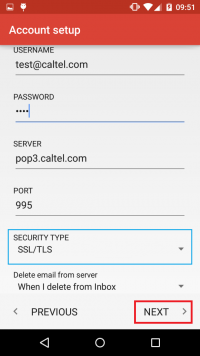
- On the next screen, make sure to adjust the settings as followed:
- The 'USERNAME' is your full CalTel email address, for example: test@caltel.com
- The 'PASSWORD' is your CalTel email password
- The 'SERVER' is: pop3.caltel.com
- The 'PORT' is: 995
- The 'SECURITY TYPE' is: SSL/TLS
- Once done, it will look similar to this:
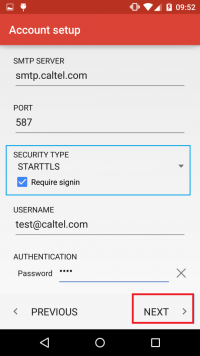
- Select 'NEXT' and you will be presented with another screen to adjust the settings as followed:
- The 'SMTP SERVER' is: smtp.caltel.com
- The 'PORT' is: 587
- The 'SECURITY TYPE' is: STARTTLS
- The 'USERNAME' is your full CalTel email address, for example: test@caltel.com
- The 'AUTHENTICATION' password is your CalTel email password
- Once done, it will look similar to this:
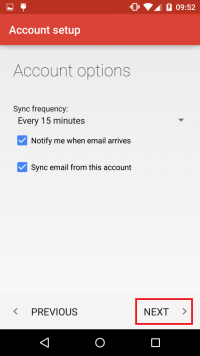
- Select 'NEXT' and on the 'Account options' screen you can leave the defaults and select 'NEXT' again:
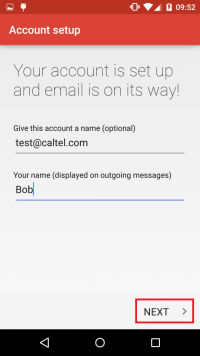
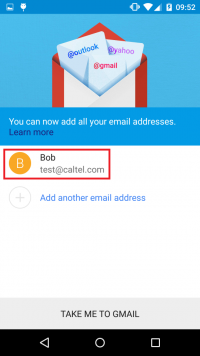
- Give your account a name and set your name, then select 'NEXT':
- Select your newly created email account and select 'TAKE ME TO GMAIL':
- You are now in your Inbox and can turn auto-sync on by selecting 'Auto-sync is off. Touch to turn on.':
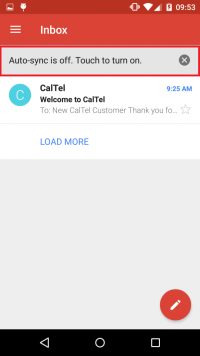
- Setup is now complete!


